Hi all,
I have been busy painting a number of different
things lately and I finally got around to finishing the markings on my U.S.
Air Force jets to be able to start playing "Thud Ridge" By Wings at
War. I have played a few test games to get a feel for the game over a year ago,
so I was a bit rusty.
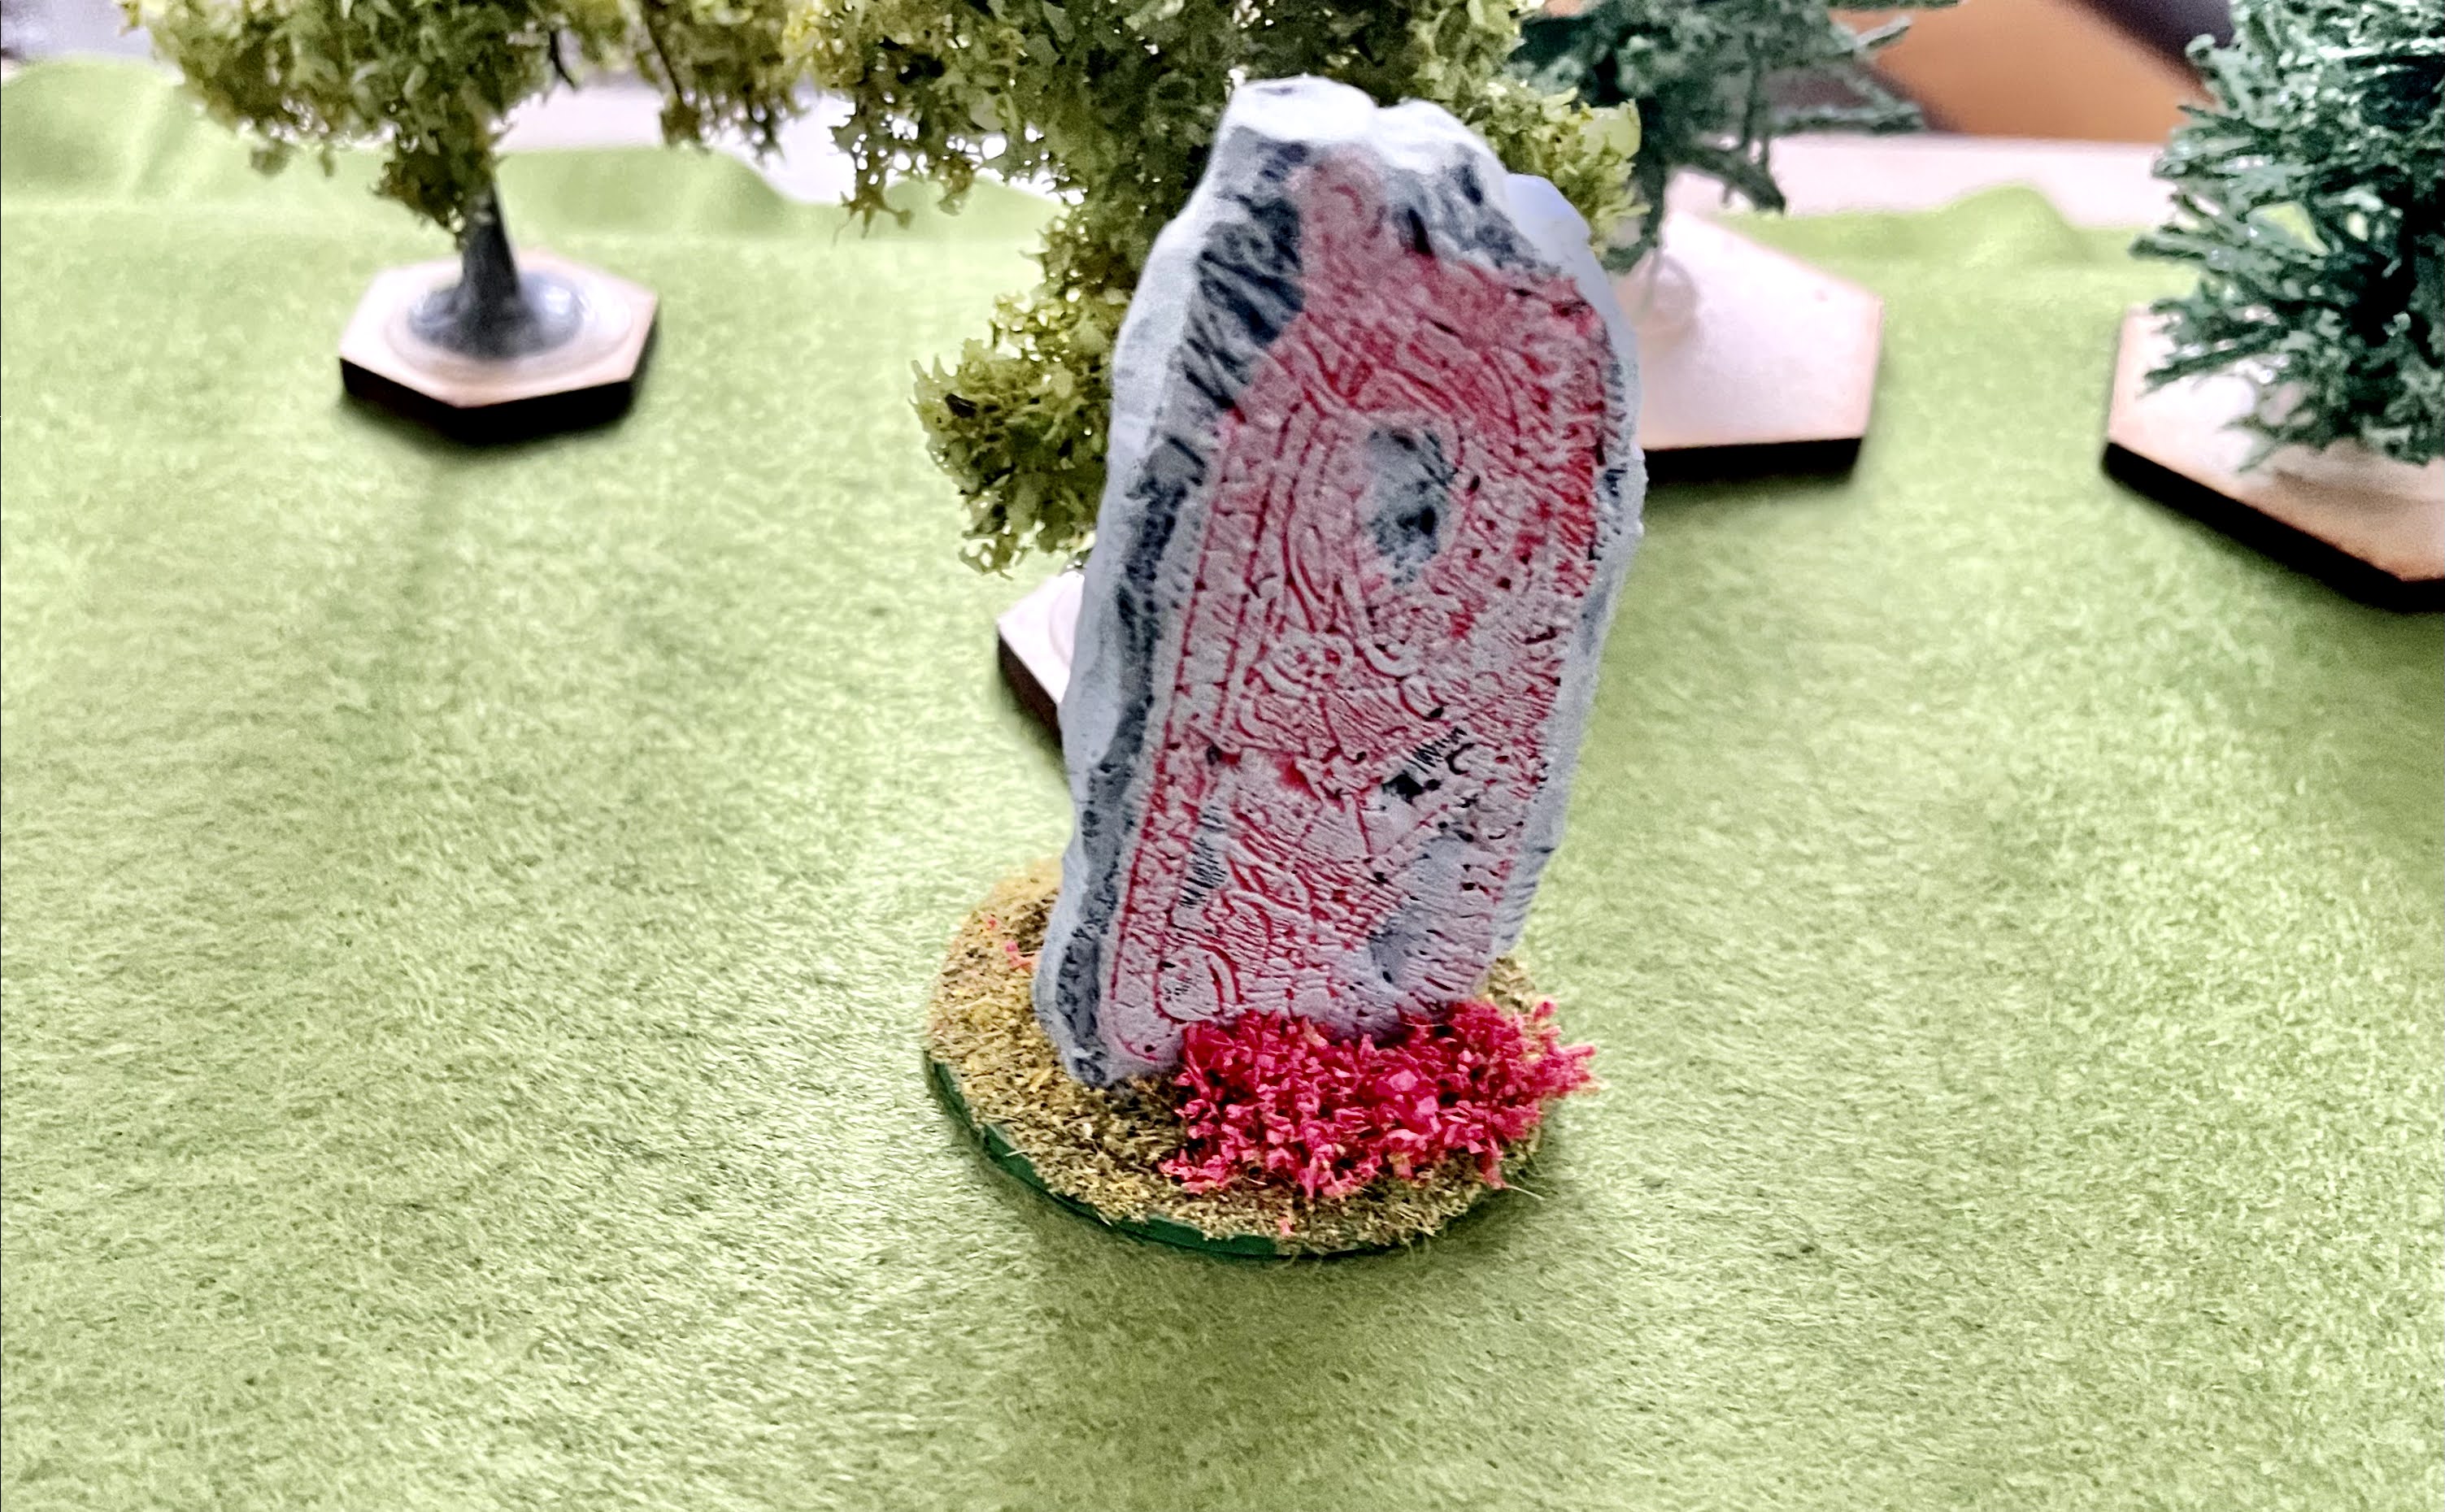
Here is the pre-strike Image of the target.
Here is what is actually waiting for the aircraft. To the left is a 6 position light AAA battery and to the right of the bridge is a heavy AAA battery. I have added these to the base game to allow for hidden sites and for them to attache aircraft and also be bombed.
Two F-100's flying a Combat Air Patrol (CAP) to protect the strike package. They are flying a high cover.
Here is an image of the two F-100's flying recon and the main force of 4 F-105's with bombs.
The strike group is making its way to the target.
The CAP joins the main group as they approach the target area. No Mig's yet.
A good shot of the full team going to deliver a package to North Vietnam.
As the Recon flight approaches the target area they have a chance to detect the light AAA.
The F-100's must have been distracted because the did not detect the light AAA, the NVA's camouflage must be working well today.
The F-105's are focused on the bridge and they are preparing for there attack run.
The F-105's take up a new formation to bomb the target.
The NVA open fire on the flight of F-105's as they approach the target. Now everyone knows they are there.
The gunners celebrate the shooting down of one of the 4 F-105's. The pilot does not eject and is KIA.
The F-105's start to drop there bombs on the bridge.
The F-100's that are on Reconnaissance spot the heavy AAA site but they are not in a position to attack the target. They send out a radio call to all aircraft as a warning to turn hard after bombing the bridge.
The first F-105 scores one hit on the bridge and turns hard and turns on his after burn to get away from the target area and to get back home.
The Second F-105 misses the bridge and makes his turn off the target without any issues.
The last F-105 makes his attack run and scores one hit on the bridge but the bridge is still standing.
The last F-105 mus not have heard the call to break hard over the target and gets fired at by the heavy AAA site, luckily for him they miss the F-105 as it turns on it's after burn to get out of dodge.
Here is the flight exiting the strike area. They should get back into a tighter formation so they can link up with the tankers and get some gas for there flight back to Thailand.
A close up of the lead F-105 post strike, he is trying to get everyone to form up on him.
The formation after forming back up on the lead F-105.
A RF-101C took this image post strike. and it shows minor damage to the bridge as well as the now known locations of the light and heavy AAA site. Looks Like there will be another mission to take down this bridge.
I hope you enjoyed this mission. I will post the follow up mission and we will see if the USAF can knock out the bridge.